
We heard the falls before we saw them. That happened on the morning of July 31, and it’s the moment that stuck with us the most.
We met our guides at McDonald’s Motorway in Tarlac for a quick breakfast, then headed to San Clemente to trek Timangguyob Falls. From Tarlac City proper, it took about 45 minutes to reach the drop-off point in Maasin, San Clemente, where we started at the Timangguyob Falls Trail jump-off. We took a shortcut that trimmed the whole trek down to about 5 km. The hike started off easy, almost too easy, until we hit the first river crossing.
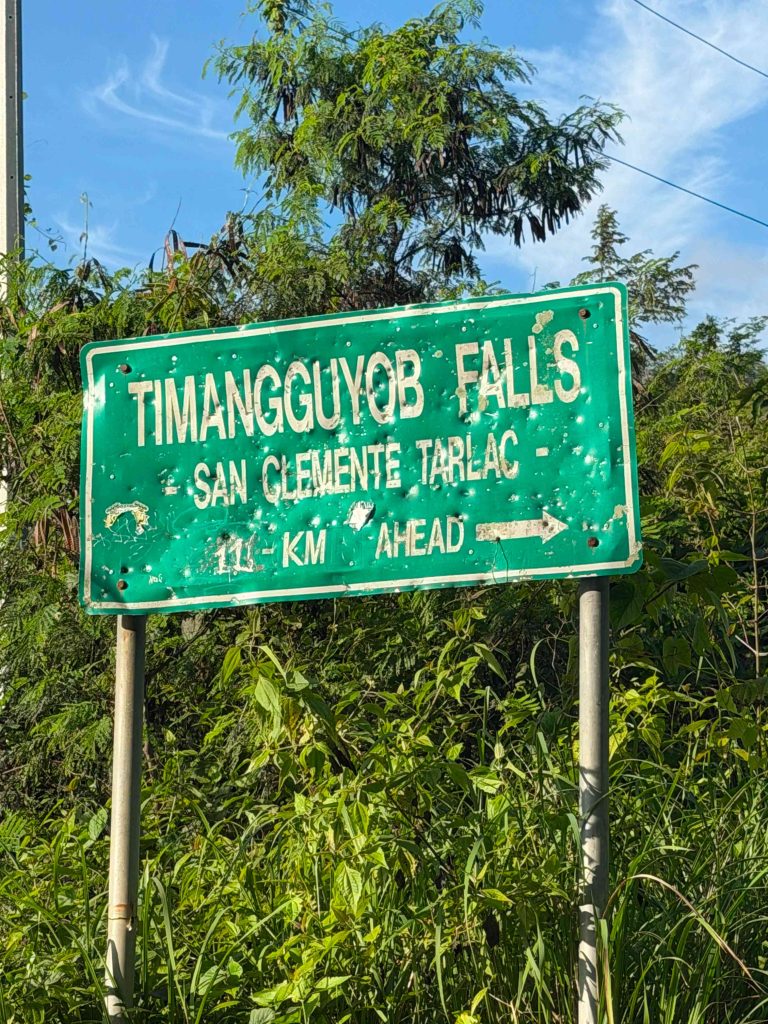
That’s where the trip got interesting. Jagged, slippery rocks underfoot, and a guide who clearly knew where to step while the rest of us worked it out one careful footfall at a time. When we finally reached the falls, we sat down, ate our McDonald’s takeout, and just took in the view before a bit of swimming. It wasn’t the length of the hike that made it memorable. It was navigating those river crossings.
This guide combines our own trip with other trip reports, local government advisories, and hiker blogs, so you can plan smart instead of guessing your way there.
TL;DR: Quick Facts Before You Go
- Location: Sitio Dueg, Barangay Maasin, San Clemente, Tarlac. Not Tarlac City itself, so budget extra travel time.
- Trail length: Reports vary widely, from a roughly 1.5-hour trek of about 2 km to a full 11-km day hike with multiple river crossings. We took a shortcut from the Timangguyob Falls Trail jump-off and covered about 5 km. It usually comes down to which jump-off point, shortcut, and guide you use.
- Fees: ₱20 per head environmental fee (covers Timangguyob, Canding, and Dueg); guide fees run roughly ₱500 to ₱1,000.
- Best time to go: Summer months, when river levels are lower and the trail is less slippery.
- Big safety note: Flash floods are a real risk during river crossings when weather turns, so check conditions before you commit. On our own trek, the jagged, slippery rocks at the river crossings were the toughest part, guide or no guide.
- Bring: Water shoes, a dry bag or plastic wrap for your phone, and more water than you think you’ll need.
- Getting a guide: Coordinate through the Barangay officials of Maasin, San Clemente. The trail isn’t visible from the main road, and hikers who’ve gone in without one have gotten lost.
What Makes Timangguyob Falls Worth the Climb
Before you commit a full day to this trek, it helps to know what you’re actually chasing. Timangguyob isn’t just another waterfall on a checklist. It has a story behind its name and a reputation that’s grown almost entirely through word of mouth.
Where the Name Comes From
The name “Timangguyob” comes from the local term for a carabao’s horn, and it fits. The water doesn’t drop straight down. It funnels and curves on its way to the pool below, echoing that horn shape. It’s a small detail, but it makes the place feel less like a tourist stop and more like it belongs to the land it’s on.
The area was first documented by local Aeta residents from the nearby Sitio Dueg resettlement, who knew these mountains long before any trail markers existed.
How Tall Is It, Really?
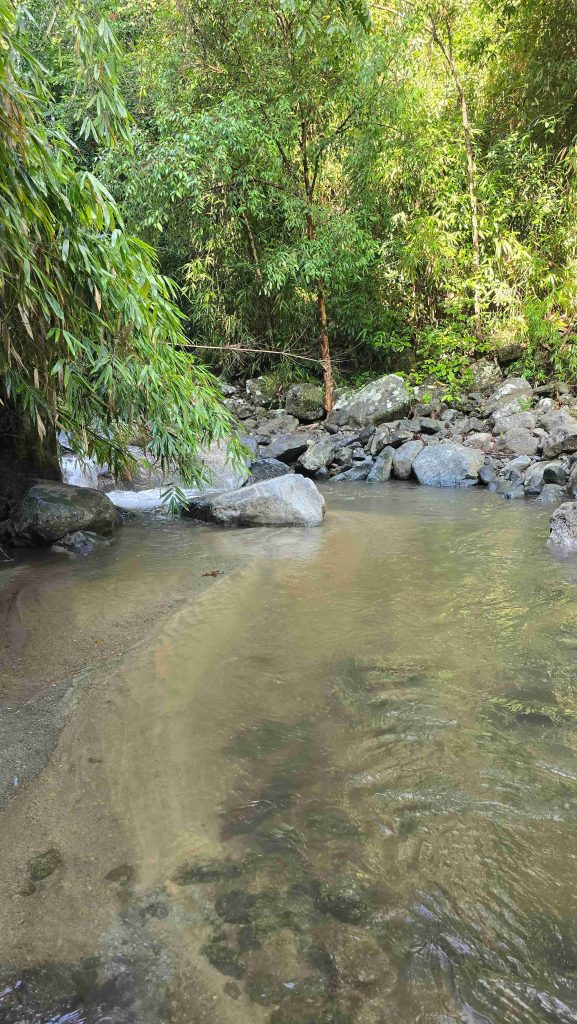
Accounts don’t fully agree here. Some describe a 15-meter waterfall, while others put it at over 50 meters. That’s a big gap, and it’s likely because different visitors are describing different sections of the falls, or different water levels at different times of year. Either way, expect something genuinely tall, not the roadside trickle some “falls” turn out to be.
Key Takeaways:
- Timangguyob Falls sits in Sitio Dueg, Barangay Maasin, San Clemente, Tarlac.
- Its name references a carabao’s horn, describing the funnel shape of the water.
- Reported heights range from about 15 to over 50 meters, depending on the source.
- The site was first known through local Aeta residents of the area.
- It’s widely considered the most visited waterfall in Tarlac province.
Getting There: Routes, Transport, and Costs
This is the part most people underestimate. Timangguyob isn’t a quick side trip. Getting to the jump-off point takes real planning, especially if you’re coming from Manila.
From Manila or Tarlac City
If you’re starting from Manila, the typical route runs through NLEX, then SCTEX, heading toward Tarlac before continuing on to San Clemente. If you’d rather skip driving, you can take a Victory Liner bus from the Monumento terminal toward Dagupan and get off at Tarlac, then arrange transport from there.
From Tarlac City proper, you’re still looking at a separate leg of travel to reach San Clemente and then Barangay Maasin. That trips up a lot of first-timers, since the falls sits well outside the city itself.
Local Transport and Fees
Once you’re in San Clemente, tricycles are your best bet for the last stretch, typically running ₱150 to ₱200. From there, some hikers continue on foot, while others hire a habal-habal (motorcycle taxi) to reach the actual jump-off point, especially where the road turns too rough for a van or car.
Budget for the environmental fee too. It’s ₱20 per head, which covers access to Timangguyob, Canding, and Dueg falls. A local guide will run you roughly ₱500 to ₱1,000, and honestly, this isn’t a place to skip that expense.
Key Takeaways:
- From Manila: NLEX to SCTEX to Tarlac to San Clemente.
- Bus option: Victory Liner from Monumento toward Dagupan, drop-off at Tarlac.
- Tricycles from San Clemente run about ₱150 to ₱200.
- Environmental fee is ₱20 per head; guide fees run ₱500 to ₱1,000.
- Plan for a full day of travel, not a quick morning trip.
The Trail Itself: What to Expect Underfoot
Trip reports on this trail don’t always agree with each other, and that’s worth addressing head-on rather than pretending there’s one clean answer.
Three Very Different Trail Experiences
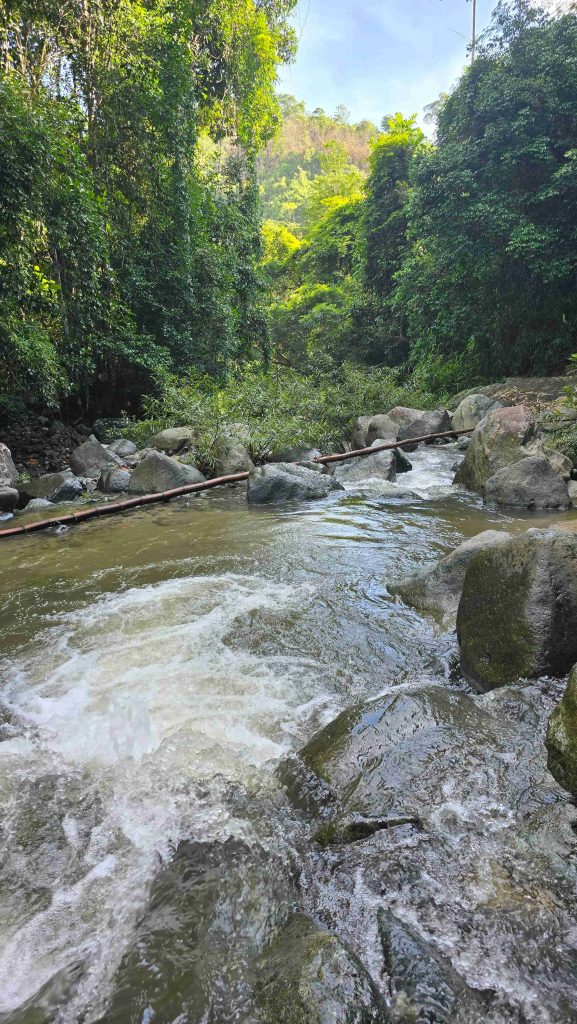
The municipal tourism office describes a trek of about 2 km from the road, taking roughly an hour and a half. Hiker accounts from other groups describe something much more demanding: an 11-km trek through grassy, shrub-covered terrain, crossing two creeks and two rivers before reaching the falls, with the full round trip eating up most of a day. On our own trek, starting from the Timangguyob Falls Trail jump-off and taking a shortcut, the distance landed somewhere in between, at about 5 km.
The likely explanation is jump-off points and shortcuts. Depending on where your guide starts you, whether a shortcut is available that day, and how far your vehicle can actually go before the road gets too rough, your version of “the trail” could look completely different from someone else’s blog post.
Terrain Realities
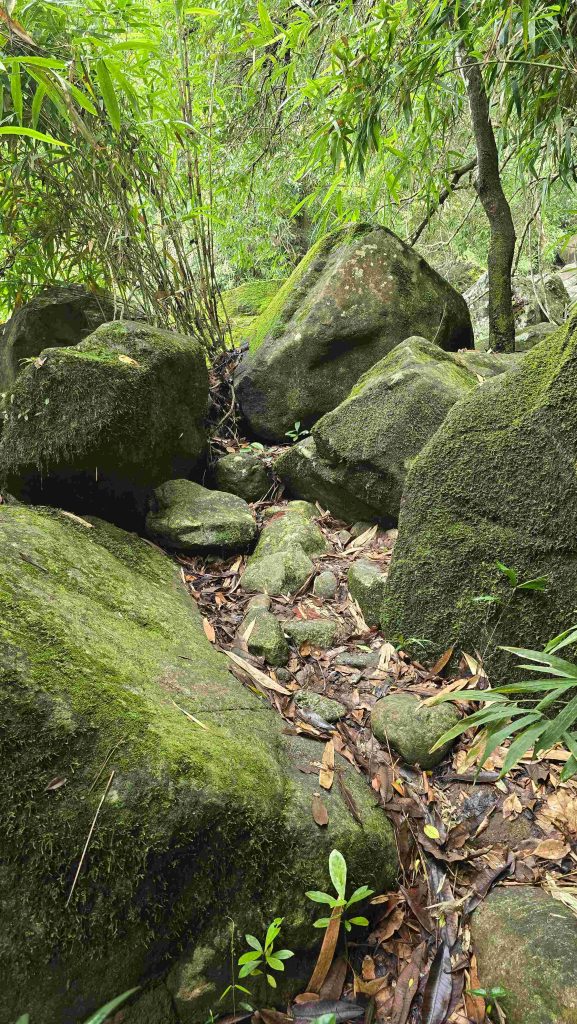
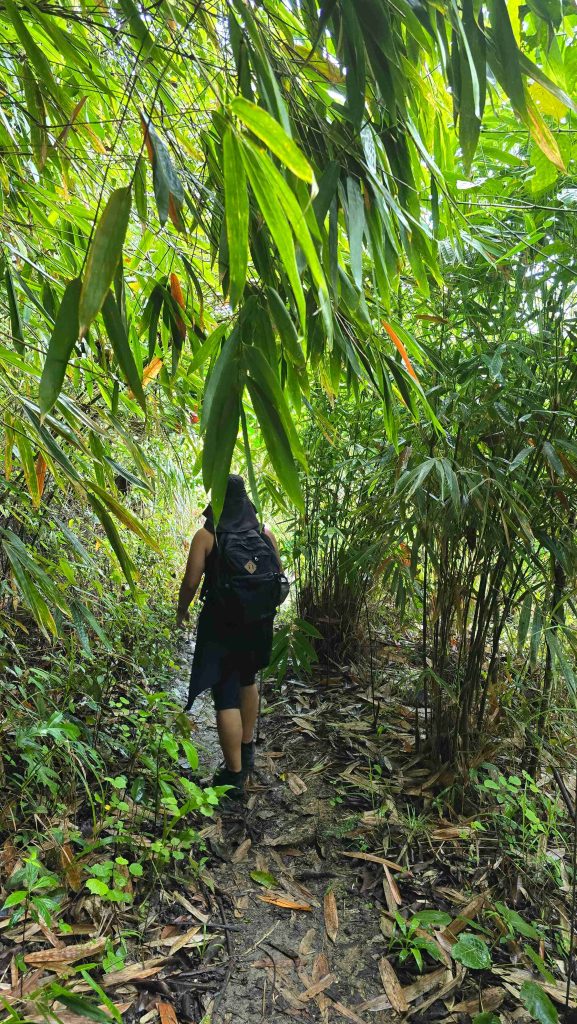
Expect open, shadeless stretches with grass and shrubs, plus steep slopes stripped of trees due to kaingin (slash-and-burn clearing) in parts of the area. That combination makes for slippery footing, especially in wet conditions, since there’s little to hold onto on the steeper sections.
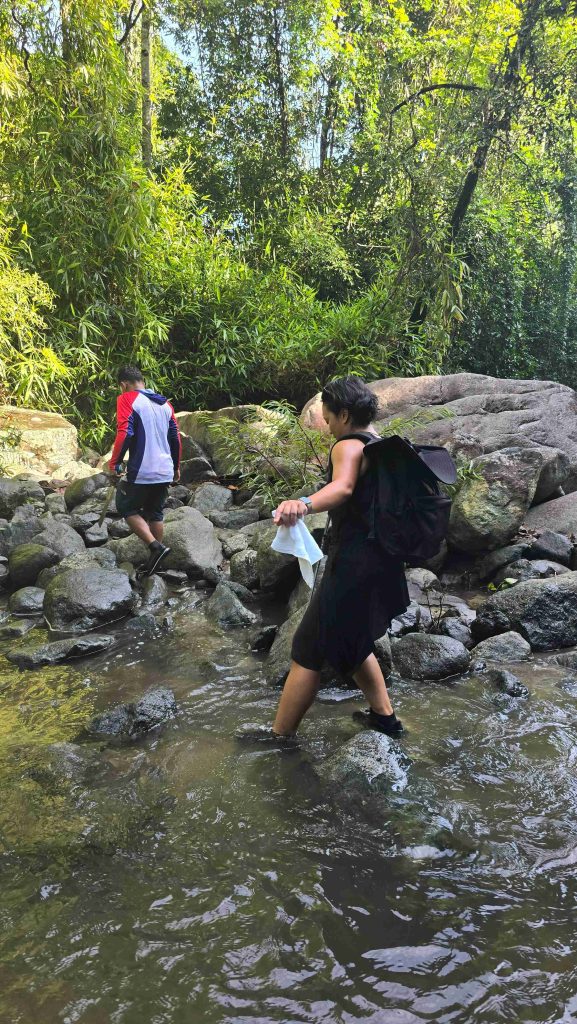
River crossings are part of the deal, not an occasional detour. Pack accordingly, and don’t wear anything you’re precious about ruining.
We can vouch for this firsthand. Our own hike to Timangguyob started off pretty easy, right up until we reached the first river crossing. The jagged, slippery rocks underfoot turned a relaxed morning trek into something that demanded full attention with every step. That one stretch is what stuck with us most afterward, not the distance, the difficulty.
Key Takeaways:
- Trail length reported ranges from about 2 km (1.5 hours) to 11 km (most of a day), with our own shortcut route landing at about 5 km.
- The gap likely comes down to different jump-off points, shortcuts, and guides.
- Expect open, grassy terrain with little shade and some steep, treeless slopes.
- River and creek crossings should be expected, not treated as a surprise.
- A local guide matters here. The trail reportedly splits in places without clear markers.
Safety, Timing, and Packing Smart
None of the above matters much if you show up unprepared or pick the wrong season. This section is the one to actually act on before you book anything.
When to Go
Summer is the recommended window, and for good reason. Lower water levels mean safer river crossings and less slippery footing on the grassy slopes. Outside of that window, local advisories specifically warn of flash flood risk during sudden downpours, particularly while crossing rivers along the trail.
That’s not a throwaway warning. If the weather looks unstable, it’s worth rescheduling rather than pushing through.
What to Actually Pack
Water shoes make a real difference on the rocky terrain around the falls and during river crossings. Regular trail shoes will slow you down and soak through fast. Protect your phone or camera in a dry bag or plastic wrap; more than one hiker has resorted to a phone sealed in a sandwich bag for their falls photos, and it works.
Bring more water than feels necessary. Between the open, shadeless stretches and the multi-hour trek time on the longer route, dehydration sneaks up fast. Snacks, a basic first-aid kit, and a change of clothes for the ride home round out the essentials.
After navigating those river crossings ourselves, we can’t stress this enough. Bring a guide, and bring an emergency kit. The jagged, slippery rocks in the river make this trail genuinely dangerous in spots, and that’s exactly what we ran into.
Key Takeaways:
- Go in summer for lower water levels and safer footing.
- Take flash flood advisories seriously, especially before river crossings.
- Water shoes are worth packing for the rocky, wet terrain.
- Waterproof your phone or camera before you start the trek.
- Overpack water and snacks. The trail offers little shade.
Tips From Hikers Who’ve Made the Trek
Beyond the logistics, real trip reports from past hikers offer a few things worth borrowing before you head out yourself.
Learn From Their Detours
One group’s account describes taking a shortcut through Barangay Bobon Second instead of the usual Tarlac to Pangasinan road, only to get lost for about an hour when the trail split and they had no guide from Dueg to point the way. Their conclusion afterward was blunt: skipping the local guide cost them time and energy they didn’t have to spare.
Another group scheduled their trip early, meeting at 5:30 a.m. before making a food stop at a local market on the way. Starting early isn’t just about beating the heat. On the longer route, you genuinely need the extra daylight hours to make it back before dark.
Small Details That Add Up
Multiple accounts mention the cold, refreshing water at the falls itself as the payoff after hours of trekking. Several hikers noted they were too exhausted to swim right away and just sat with their feet in the water first. That’s a fair expectation to set for yourself too. The falls are the reward, not necessarily a full swim session, depending on how the trek went.
On our own trip, we sat by the falls and ate our McDonald’s takeout before easing into a bit of swimming, a small, simple reward after picking our way across those river rocks. It’s a detail worth planning for. Pack food that travels well, because you’ll want to eat somewhere other than a fast-food table for once.
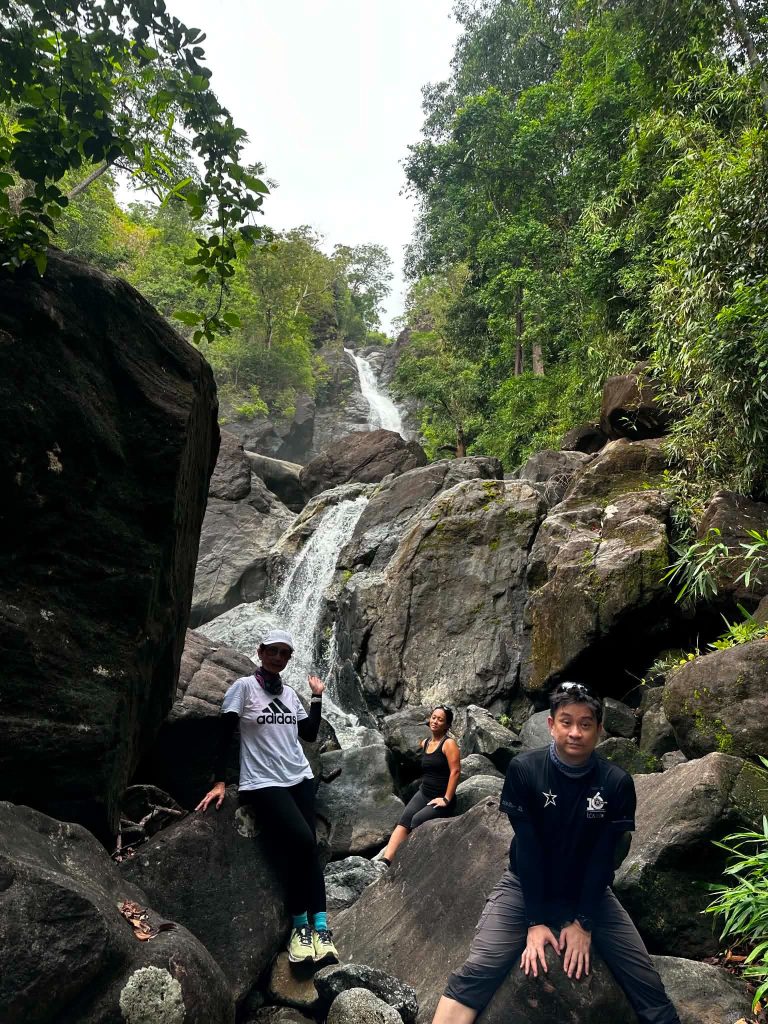
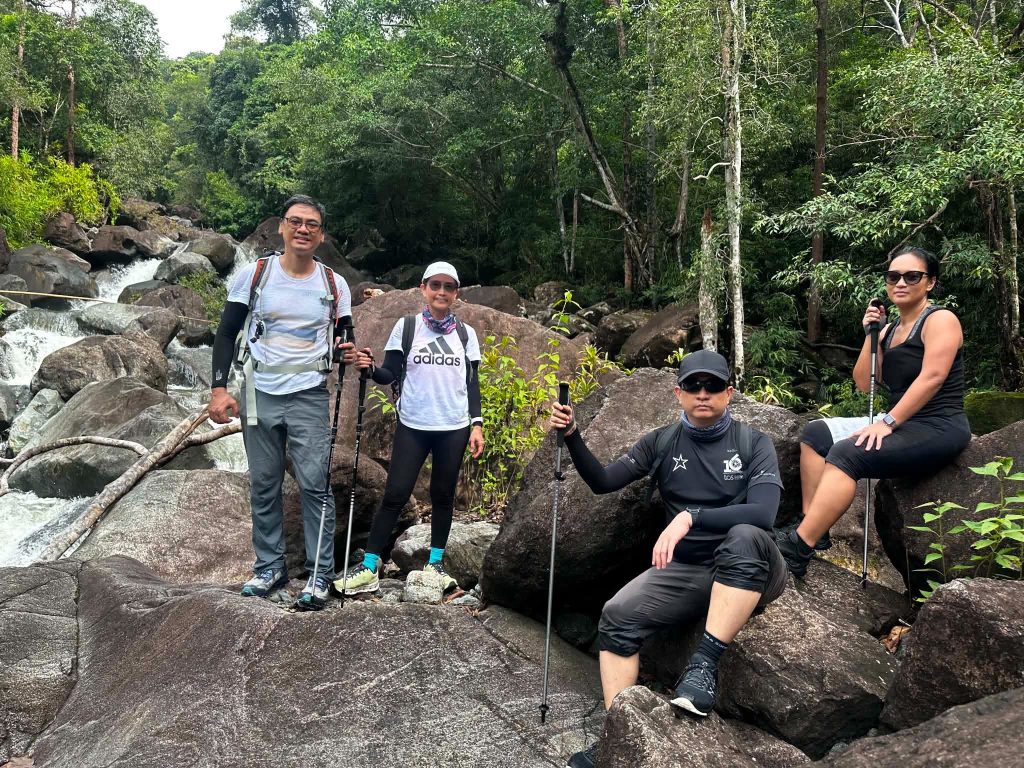
If you’re hiking with a group, coordinate transport in advance. Motorcycle convoys and habal-habal rides in tandem were how more than one group covered the rough final stretch of road that regular vehicles couldn’t handle.
Key Takeaways:
- Don’t skip the local guide. Getting lost has cost past hikers real time.
- Start early, especially if you’re doing the longer 11-km version of the trail rather than a shortcut route.
- Manage expectations for swimming. Exhaustion after the trek is common.
- Arrange group transport (motorcycles or habal-habal) ahead of time for the rough final road.
- Treat every trip report as one version of the trail, not the definitive one.
Ready to Plan Your Own Trek?
Timangguyob Falls isn’t a place you stumble into on a whim. It takes planning, a guide, and a healthy respect for the terrain. That’s exactly why it’s stayed a genuine hidden gem instead of turning into another crowded tourist stop.
Quick recap before you go:
- It’s in San Clemente, Tarlac, not Tarlac City, so plan your travel time accordingly.
- Trail length varies a lot depending on your jump-off point and whether a shortcut is available (ours came out to about 5 km); confirm this with your guide beforehand.
- Fees are modest (₱20 environmental fee, ₱500 to ₱1,000 for a guide), but a guide is genuinely necessary here.
- Summer is your safest window, with flash floods a real risk outside of it.
- Pack for river crossings and shadeless stretches, not just a scenic walk.
Start planning now: reach out to the Barangay officials of Maasin, San Clemente to line up a guide and confirm current trail conditions before you set a date.
If you’ve got a running or hiking group who loves this kind of adventure, this is the trip to rally them for. Timangguyob rewards people who show up together, not solo.
P.S. We did this hike on July 31, starting from the Timangguyob Falls Trail jump-off and taking a shortcut that brought the whole trek to about 5 km. Honestly, it wasn’t the distance that got to us. It was those first river crossings with their jagged, slippery rocks. If you end up doing a different route, whether shorter or the full 11-km trek, it’s worth comparing notes with someone who did the other one. The trail apparently changes personality completely depending on where you start.
